 how-to
HVAC Maintenance Checklist for Homeowners 2026
Table of Contents
- What Belongs on an HVAC Maintenance Checklist for Homeowners in 2026
- HVAC Filter Replacement Frequency: Getting It Right
- Outdoor Unit Care: Cleaning the Condenser Coil and Clearing Debris
- Thermostat Calibration, Smart Home Integration, and System Cycling
- DIY HVAC Maintenance Tips You Can Do Safely
- Indoor Air Quality Beyond Filters: Ventilation and Humidity Control
- When to Call an HVAC Professional
- Conclusion
- Frequently Asked Questions
Last Updated: September 25, 2026
What Belongs on an HVAC Maintenance Checklist for Homeowners in 2026
An HVAC maintenance checklist for homeowners is a simple, repeatable list of tasks that keeps your heating and cooling system running safely and efficiently all year. This guide from Tornado HVAC covers monthly jobs, seasonal tune-ups, filter changes, and the exact point where you should stop and call a professional.
A good checklist splits into two speeds: quick monthly checks and deeper seasonal work. Get both right and you avoid the most common cause of breakdowns, which is plain neglect.
Monthly Tasks That Take Under 15 Minutes
- Check your air filter and replace or clean it if it looks gray and clogged
- Look at the thermostat reading and confirm it matches your home's actual temperature
- Walk around the outdoor unit and clear leaves, grass, or snow
- Check supply and return vents for furniture, rugs, or boxes blocking airflow
- Look for water near the indoor air handler or furnace
- Listen for odd sounds: rattling, grinding, or clicking
Seasonal Tasks for Spring and Fall
Spring prep gets your system ready for cooling season. Fall prep gets it ready for heating season. But the exact timing and the tasks that matter most depend on your climate zone, and that's where most generic checklists fall short.
Spring (cooling season prep)
- Rinse the outdoor condenser coil with the power off at the disconnect
- Test the AC on a warm day before you actually need it, so a failure shows up while you still have time to schedule service
- Check the condensate drain line for algae clogs and flush it with water
- Replace the filter and note the date on the frame
- Inspect the outdoor unit's fan blades for bent or cracked fins
Fall (heating season prep)
- Test the furnace on the first cool evening, not the first freezing one
- Check the ignition sequence and flame color (a steady blue flame is normal; yellow or flickering suggests a combustion issue)
- Swap in a fresh filter before the heating season starts
- Clear the outdoor unit of falling leaves and check that the defrost cycle runs on a heat pump
- Verify the condensate line is clear before it freezes
Both seasons
- Replace the carbon monoxide detector battery and test the alarm
- Check the flue and vent pipe on a gas furnace for blockages or corrosion
- Confirm the outdoor disconnect box is dry and free of insect nests
Climate Zone Adjustments
A checklist written for a dry climate will miss the failure modes that matter in a humid one, and vice versa. Two adjustments cover most of the difference:
- Humid climates: Prioritize condensate drain maintenance and humidity control. Algae and mold grow faster in drain pans and lines, and a clogged drain can trip a safety switch and shut the system down. Check the drain more often than the once-a-season default.
- Arid climates: Prioritize filter changes and coil cleaning. Dust loads are heavier, so filters clog faster and the outdoor coil collects more grit. Shorten the filter interval and rinse the coil more frequently.
HVAC Filter Replacement Frequency: Getting It Right
The short answer: check your filter every month and replace it every 1 to 3 months for most homes. That range depends on your filter's MERV rating, your pets, and your local air quality.
Outdoor Unit Care: Cleaning the Condenser Coil and Clearing Debris
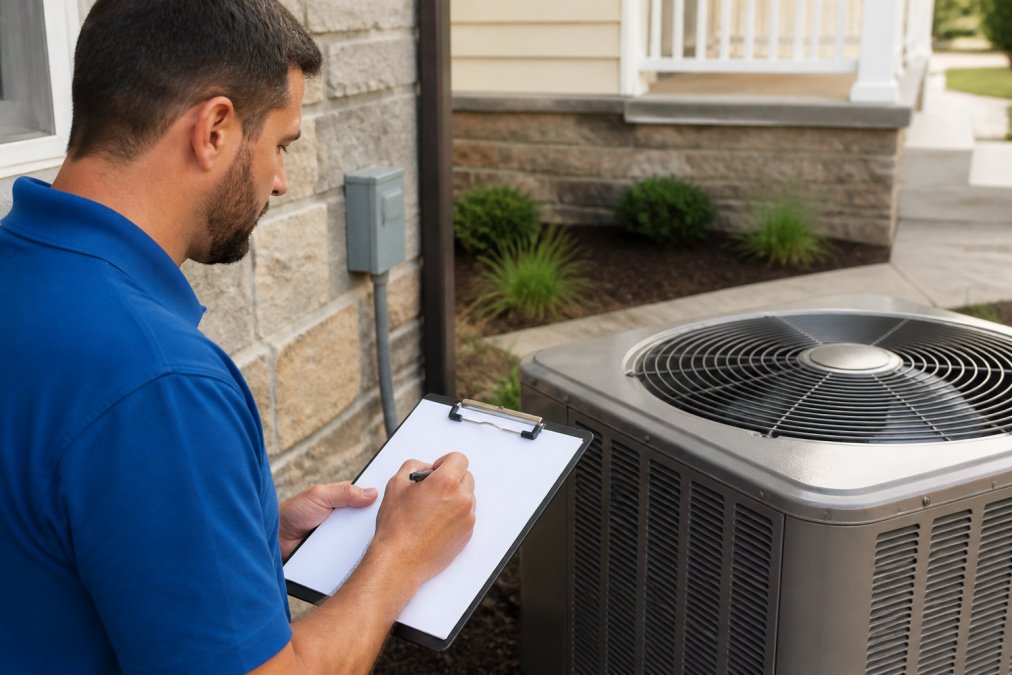
Your outdoor condenser unit needs a clear path for airflow. Turn off the power at the disconnect, then remove leaves, grass clippings, and dirt from the fins with a soft brush or a garden hose on low pressure.
Checking Refrigerant Lines and Insulation
Look at the two copper lines running from the outdoor unit into your home. The larger one should have foam insulation. Cracked or missing insulation means energy loss and possible moisture problems. Refrigerant levels themselves are a job for a licensed technician. Low refrigerant almost always means a leak, and adding refrigerant without finding the leak just delays the real fix.
Thermostat Calibration, Smart Home Integration, and System Cycling
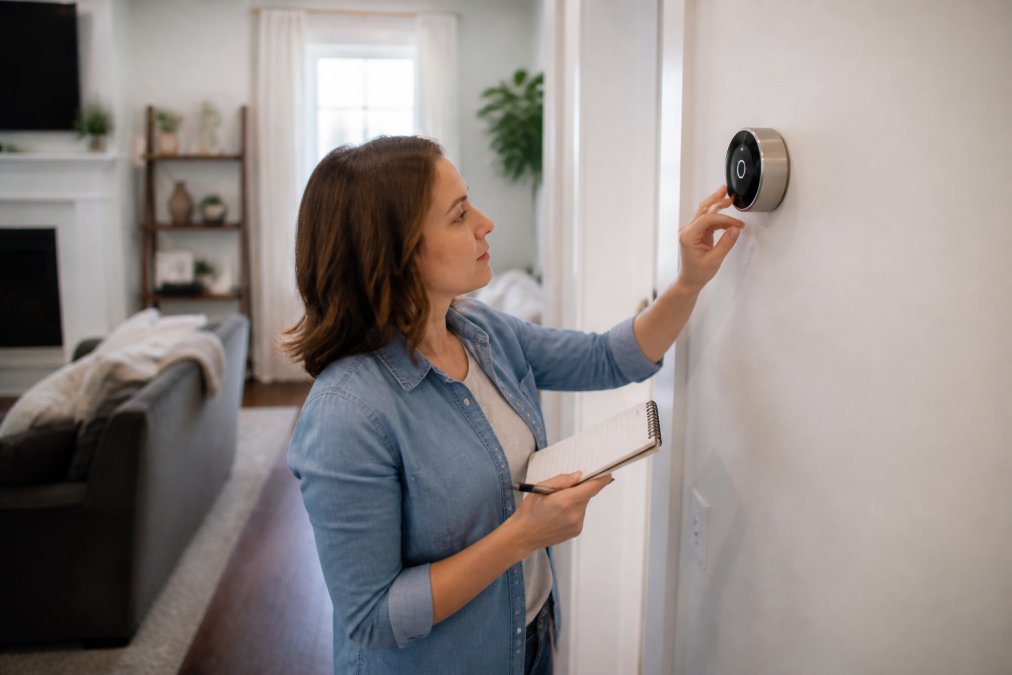
Thermostat calibration means making sure your thermostat reads the true temperature of your home. If it's off by several degrees, your system short-cycles: it turns on and off too often, which wears out the compressor and capacitor.
Troubleshooting Smart Thermostat Connection Issues
- Check the Wi-Fi signal strength at the thermostat location
- Restart your router, then restart the thermostat
- Confirm the thermostat app and firmware are up to date
- Reconnect the device to your network if it dropped off
- Check the C-wire if the screen flickers or loses power
If the thermostat keeps dropping offline, the wiring or the low-voltage transformer may be the real problem. That's a diagnostic job, not a guess-and-swap job.
ENERGY STAR guidance on programmable and smart thermostats
DIY HVAC Maintenance Tips You Can Do Safely
Some tasks are safe for any homeowner. Others are not, and knowing the line protects both your system and your safety. The line matters for a second reason most guides skip: certain DIY mistakes can void your manufacturer warranty, and the warranty language is specific about what counts.
Safe DIY Tasks
- Replacing air filters
- Clearing debris around the outdoor unit
- Cleaning supply and return registers
- Testing carbon monoxide and smoke detectors
- Changing thermostat batteries and settings
- Gently rinsing the outdoor coil with power off
Tasks That Cross the Safety Threshold
- Any work inside the electrical panel or on the contactor
- Refrigerant handling (federally regulated under Section 608 of the Clean Air Act)
- Gas line or furnace ignition work
- Compressor or capacitor replacement
- Anything that smells like gas or burning
The Warranty Threshold: What Actually Voids Coverage
Most manufacturer warranties require that installation and certain repairs be performed by a licensed technician, and many require documented annual maintenance to keep coverage active. The tasks that most commonly void a warranty when done by an unlicensed homeowner include:
- Opening the sealed refrigerant circuit or adding refrigerant
- Replacing the compressor, capacitor, or control board
- Modifying gas piping or the furnace ignition system
- Bypassing or removing a safety switch (like the float switch on a condensate pan)
The Repair-or-Replace Framework
When a repair estimate climbs, use a simple framework instead of guessing. If the repair costs more than a third of what a new system would cost, and your unit is over 12 to 15 years old, replacement usually wins. If the system is young and the repair is small, fix it. A technician should give you a written recommendation with both options so you can decide without pressure.
Indoor Air Quality Beyond Filters: Ventilation and Humidity Control
Filters capture particles, but they don't manage moisture or fresh air. Indoor air quality depends on three things: filtration, ventilation, and humidity.
U.S. EPA information on indoor air quality and humidity
When to Call an HVAC Professional
Call a professional when you see any of these signs:
- No heat or no cooling after basic checks
- A gas smell or any carbon monoxide alarm
- Repeated tripping of the breaker
- Ice on the outdoor unit or refrigerant lines
- Water pooling around the furnace or air handler
- Grinding, screeching, or loud banging
- A system that runs constantly but never reaches the set temperature
Conclusion
Keeping up with an HVAC maintenance checklist is the simplest way to protect your system and your comfort. When a task is beyond a homeowner's safe reach, or when something just feels wrong, it's time for a professional.
Frequently Asked Questions
What should I include on my annual HVAC maintenance checklist?
Your annual HVAC maintenance checklist should cover filter replacement, thermostat calibration, condenser coil cleaning, debris removal around the outdoor unit, supply and return vent inspection, electrical connection checks, and blower motor lubrication. Schedule a professional tune-up each spring and fall to handle refrigerant levels, furnace ignition, and heat pump components. A written checklist keeps you consistent and helps you spot airflow restriction or system cycling problems before they become expensive repairs.
How often should a homeowner schedule professional HVAC tune-ups?
Schedule professional tune-ups twice a year: once in spring for your air conditioning and once in fall for your heating system. Regular preventative maintenance keeps your system running efficiently, extends equipment life, and helps with warranty compliance. Between visits, your own HVAC maintenance checklist handles monthly filter checks and seasonal tasks. If your system cycles frequently or airflow feels weak, call for service sooner rather than waiting for the next scheduled visit.
What are the signs that my HVAC system needs professional repair?
Warning signs include unusual noises, weak airflow from registers, frequent system cycling, rising energy bills, and refrigerant leaks. A carbon monoxide detector alarm or a furnace that won't ignite requires immediate professional attention. If you notice algae growth in the drain line or water pooling near the air handler, call a technician. These symptoms often point to compressor, capacitor, or electrical contactor issues that DIY HVAC maintenance tips cannot safely fix.
What is the $5,000 rule for HVAC systems?
The $5,000 rule helps you decide between repairing and replacing your system. Multiply the age of your unit by the cost of the repair. If the result exceeds $5,000, replacement usually makes more financial sense. For example, a 12-year-old system needing a $500 repair gives you $6,000, which points toward replacement. This guideline works alongside a professional inspection, since refrigerant levels, compressor condition, and overall energy efficiency also factor into the decision.